
This guide will walk you through how to set up an IAM policy with read-only access to AWS services, and an IAM role or user with API access that can be used in the Blue Matador AWS integration. To set up the AWS integration, read this guide.
IAM Policy
Log in to the AWS Web Console and access the IAM dashboard via Services > IAM.

2. Select Policies from the left navigation and then click the Create Policy button.

3. Switch to the JSON tab of the policy editor and copy and paste the entire IAM policy below into the editor.
{
    "Version": "2012-10-17",
    "Statement": [
        {
            "Action": [
                "acm:DescribeCertificate",
                "acm:ListCertificates",
                "apigateway:GET",
                "athena:GetWorkGroup",
                "athena:ListWorkGroups",
                "autoscaling:DescribeAutoScalingGroups",
                "autoscaling:DescribeScalingActivities",
                "backup:ListBackupJobs",
                "backup:ListCopyJobs",
                "backup:ListRestoreJobs",
                "backup:ListBackupPlans",
                "backup:ListBackupVaults",
                "batch:DescribeComputeEnvironments",
                "batch:DescribeJobDefinitions",
                "batch:DescribeJobQueues",
                "batch:DescribeJobs",
                "batch:ListJobs",
                "cloudfront:ListDistributions",
                "cloudwatch:GetMetricStatistics",
                "cloudwatch:GetMetricData",
                "dynamodb:DescribeTable",
                "dynamodb:ListTables",
                "ec2:DescribeAccountAttributes",
                "ec2:DescribeInstanceCreditSpecifications",
                "ec2:DescribeInstances",
                "ec2:DescribeInstanceStatus",
                "ec2:DescribeVolumes",
                "ec2:DescribeVolumeStatus",
                "ec2:DescribeVpnConnections",
                "ecs:DescribeClusters",
                "ecs:DescribeContainerInstances",
                "ecs:DescribeServices",
                "ecs:DescribeTasks",
                "ecs:ListClusters",
                "ecs:ListContainerInstances",
                "ecs:ListServices",
                "ecs:ListTasks",
                "eks:ListClusters",
                "elasticache:DescribeCacheClusters",
                "elasticache:DescribeReplicationGroups",
                "elasticbeanstalk:DescribeEnvironments",
                "elasticbeanstalk:DescribeEvents",
                "elasticloadbalancing:DescribeAccountLimits",
                "elasticloadbalancing:DescribeInstanceHealth",
                "elasticloadbalancing:DescribeLoadBalancers",
                "elasticloadbalancing:DescribeTargetGroups",
                "es:DescribeElasticsearchDomains",
                "es:ListDomainNames",
                "iot:GetTopicRule",
                "iot:ListTopicRules",
                "kinesis:ListStreams",
                "kinesis:DescribeStreamSummary",
                "kinesis:ListShards",
                "lambda:ListFunctions",
                "rds:DescribeDBClusters",
                "rds:DescribeDBInstances",
                "rds:DescribeDBParameterGroups",
                "rds:DescribeDBParameters",
                "rds:DescribeEvents",
                "route53:ListHealthChecks",
                "route53:ListHostedZones",
                "route53:ListResourceRecordSets",
                "route53domains:ListDomains",
                "s3:GetBucketCORS",
                "s3:GetBucketLocation",
                "s3:GetBucketWebsite",
                "s3:GetReplicationConfiguration",
                "s3:ListAllMyBuckets",
                "servicequotas:GetServiceQuota",
                "servicequotas:GetAWSDefaultServiceQuota"
                "ses:GetIdentityDkimAttributes",
                "ses:GetIdentityVerificationAttributes",
                "ses:GetSendQuota",
                "ses:ListIdentities",
                "sns:ListTopics",
                "sqs:GetQueueAttributes",
                "sqs:ListQueues",
                "states:ListActivities",
                "states:ListStateMachines",
                "tag:GetResources"
            ],
            "Effect": "Allow",
            "Resource": "*"
        }
    ]
}
4. Click the Review Policy button and enter a name and description for the policy. Then click the Create Policy button to create the policy.

5. Proceed to create a role or user with this policy
IAM Role
1. In Blue Matador, create a new AWS integration via Setup > Integrations.
2. Choose a name for your integration.

3. In the Provide Authentication section, choose IAM Role. Note the account ID and external ID provided in the Blue Matador UI. These will be copied into the AWS Console when creating the role.

4. In another window navigate to the AWS Web Console and then to the IAM Dashboard. Select Roles from the left-side navigation and then click the Create Role button.

5. Under Select type of trusted entity choose Another AWS account.

6. Ensure that Require External ID is checked, and Require MFA is unchecked. Copy the account ID and external ID from Blue Matador into the Account ID and External ID fields in the AWS console. Then click Next: Permissions.

7. Select the policy you created in the IAM Policy section of this page, then click Next: Tags.

8. Add any tags you wish to the IAM role. This step will not affect Blue Matador’s AWS integration. Then click Next: Review.

9. Enter a role name and optionally a description, and review the settings. Then click Create role.

10. The following confirmation should appear. Click on the name of the role to view the role Summary, or search for the role in the list of roles.

11. Copy the role ARN from the summary page and paste it into the Blue Matador App.

12. Click Verify Keys so that Blue Matador can test the role and its permissions, then Save the integration. Completing this step also completes the steps in AWS Install.

I
AM User
1. In the IAM dashboard of the AWS Web Console, select Users from the left-side navigation and then click the Add User button.

2. Enter a name for the user and check the Programmatic access option. Then click Next: Permissions

3. Under Set Permissions select the Attach existing permissions directly option, then search for the policy you created before and check the box to the left of it. Then click Next: Tags.

4. Add any tags you wish to the IAM user. This step will not affect Blue Matador’s AWS integration. Then click Next: Review.

5. Review the user information. Double-check that AWS access type has the value “Programmatic access - with an access key” and that the correct Managed Policy is attached. Then click Create User.

6. You should now see the Success screen. Copy the Access Key ID and Secret access key. They will be needed when setting up the AWS integration in Blue Matador.

Replacing Access Keys
If you have lost the original access keys for a user, you can create new access keys to use with the Blue Matador AWS integration.
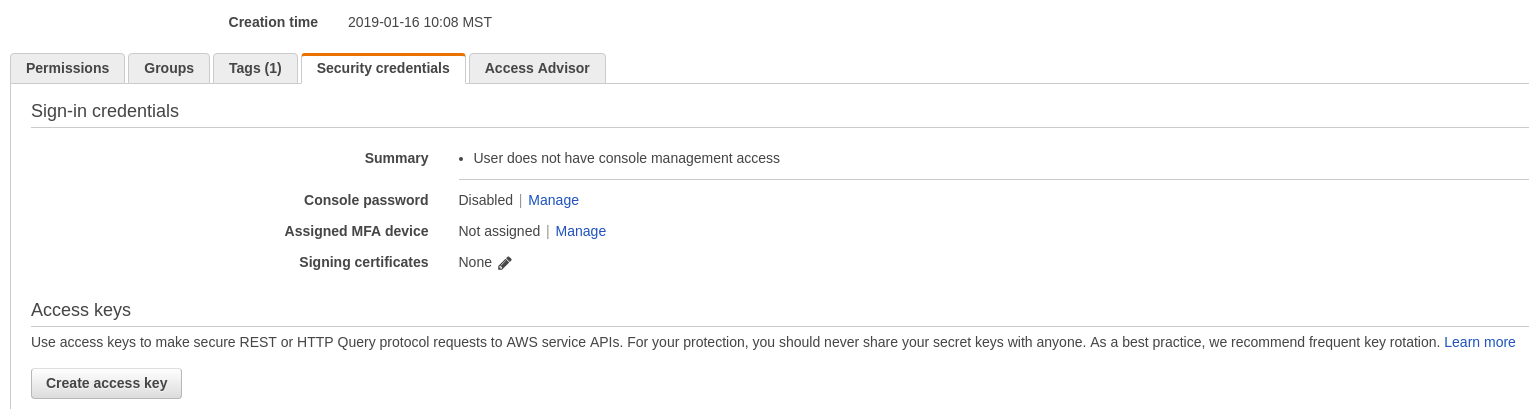
1. Log in to the AWS Web Console and access the IAM dashboard via Services > IAM.
2. Select Users in the left navigation then select the User you want to create keys for to display the Summary page.

3. If you have lost the original access keys for a user, you can create new access keys to use with the Blue Matador AWS integration.
4. Copy the Access key ID and Secret access key and use them when setting up the AWS integration
