During my career, I’ve taken part in many on-call rotations and post-mortems. The longest on-call rotation I’ve ever had — no breaks, vacations, or holidays — lasted for a whopping 2.5 years at Lucid Software. I’m jaded. I strongly prefer stability to tinkering with shiny new toys. Very few software engineers start this way, but enough of them make the transition after having been bit enough times by a bad release.
So, even though the first version of kubernetes came out in the middle of 2015, I personally have never given it a fair chance as a potential DevOps tool. My arguments ranged from “it’s just another virtualization tech; I already have one of those,” to “I guarantee that will break production until we know it better.”
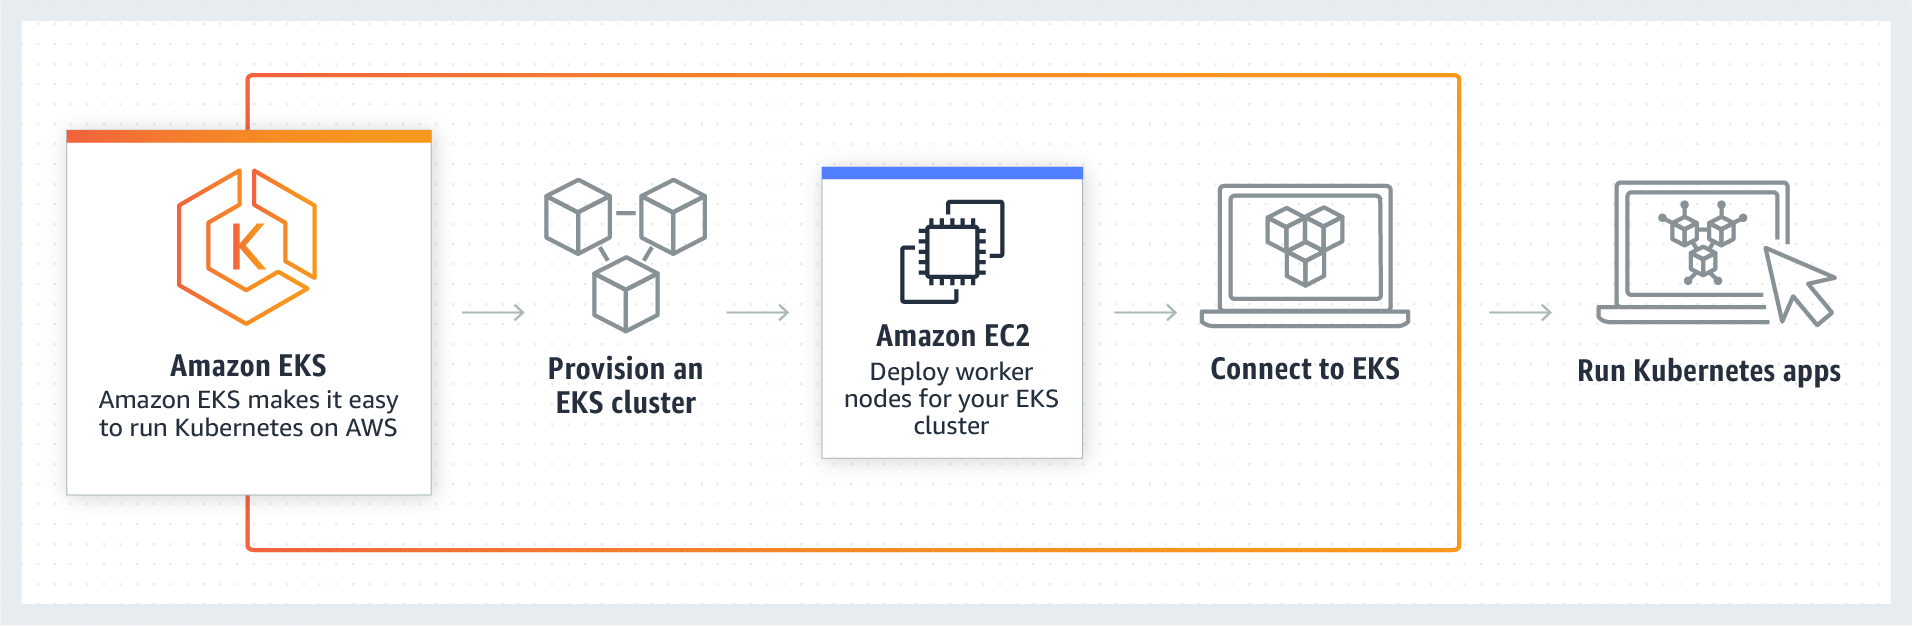
![]() In the last few months, I’ve gotten even stronger reasons to try it out. Specifically, Blue Matador supports Kubernetes as a first-class citizen, and a large percentage of our customers are currently relying on us to monitor their Kubernetes clusters. So, I took the plunge and spent a week pouring through documentation, going through tutorials, building and tearing down clusters, testing commands, and goofing off in the Kubernetes playground environment.
In the last few months, I’ve gotten even stronger reasons to try it out. Specifically, Blue Matador supports Kubernetes as a first-class citizen, and a large percentage of our customers are currently relying on us to monitor their Kubernetes clusters. So, I took the plunge and spent a week pouring through documentation, going through tutorials, building and tearing down clusters, testing commands, and goofing off in the Kubernetes playground environment.
My first few clusters were built in Amazon EKS, (EKS stands for Elastic Kubernetes Service) and they were not straightforward. In this blog, I’ll guide you through that setup, warn you of the snags I hit, and then share my review of EKS as a service.
Source: Amazon
How to set up EKS
The commands below were tested using Ubuntu 18.04 on Windows 10 Linux subsystem, but they should work without modification on Ubuntu 14.04+. The general outline will work on any system, and I’ll include links for those other OSes.
Amazon also has a setup guide, though, by itself, it wasn’t enough to actually get started. You can find their documentation here.
Step 1: Create a new IAM role for EKS to use. [AWS docs] Using the AWS console, create a new role. You only need one role for as many EKS clusters as you plan to create, name it generically. The permissions matter, though. Choose EKS from the list of services, then Allows Amazon EKS to manage your clusters on your behalf.
Step 2: Create a new VPC using CloudFormation. [AWS docs] If you’re like me, you will probably want to create your own VPC. Don’t create one yourself — EKS is incredibly particular about things. Just use CloudFormation. Use this Amazon S3 template URL. The name for this VPC should be application specific. Name it "blog," "production," or whatever specific name you prefer. Each EKS cluster you create will have its own VPC.
Step 3: Install the awscli version 1.16.73 or higher. [AWS docs] Even on newer versions of Ubuntu, the awscli is not up-to-date enough in the apt repos. You’ll have to manually install using python’s pip utility, but first you’ll want to make sure that the awscli package is removed. Here, I’m using python3, but you could easily use python2 if you already have it. To do this, replace all instances of “python3” with “python” (not “python2”) and “pip3” with “pip” (not “pip2”).
sudo apt-get remove -y --purge awscli
sudo apt-get install -y python3 python3-pip
sudo pip3 install awscli --upgrade
aws --version
Step 4: Create your EKS cluster with the AWS CLI. [AWS docs] I recommend not using the AWS console, because it could mess up permissions later. The IAM user who creates the EKS cluster is the only user who will have access to it once created. I created a cluster using root credentials (not realizing it), and then used kubectl with my user’s credentials. To create your cluster, use the following command, but replace the following: 1) the role ARN with the role ARN in the first step of this tutorial; 2) the subnet IDs with the subnets created using the CloudFormation template in this tutorial; 3) the security group ID with the security group ID created using the same CloudFormation template; and 4) the name “devel” with whatever you want to call your EKS cluster. To get these IDs from CloudFormation, go to the created stack, and click the Outputs tab.
aws eks create-cluster --name devel --role-arn arn:aws:iam::111122223333:role/eks-service-role-AWSServiceRoleForAmazonEKS-EXAMPLEBKZRQR --resources-vpc-config subnetIds=subnet-a9189fe2,subnet-50432629,securityGroupIds=sg-f5c54184
Step 5: Install kubectl. [kubernetes docs] This tool (kubectl) is how you manage kubernetes clusters. This step is not specific to AWS, so if you already have kubectl, you are good to go. For Ubuntu, I recommend using the system package manager by running these simple commands:
sudo apt-get update && sudo apt-get install -y apt-transport-https
curl -s https://packages.cloud.google.com/apt/doc/apt-key.gpg | sudo apt-key add -
echo "deb https://apt.kubernetes.io/ kubernetes-xenial main" | sudo tee -a /etc/apt/sources.list.d/kubernetes.list
sudo apt-get update
sudo apt-get install -y kubectl
Step 6: Install Amazon’s authenticator for kubectl and IAM. [AWS docs] Amazon EKS uses IAM for user management and access to clusters. Out of the box, kubectl does not support IAM. To bridge the gap, you must install a binary on your system called aws-iam-authenticator. Run these commands on Ubuntu:
curl -o aws-iam-authenticator https://amazon-eks.s3-us-west-2.amazonaws.com/1.11.5/2018-12-06/bin/linux/amd64/aws-iam-authenticator
chmod +x aws-iam-authenticator
sudo mv aws-iam-authenticator /usr/bin/aws-iam-authenticator
Step 7: Wait until the EKS cluster status is “ACTIVE”. It should take about 10 minutes from when you ran the AWS CLI command to create it.
Step 8: Update your ~/.kube/config using AWS CLI. [AWS docs] If you’ve followed the tutorial exactly to this point, all you need to do is run this command. It will update your kubectl configuration file with the context, user, and authentication commands. You will need to replace the name “devel” with the name of your cluster used in the “aws eks create-cluster” command above. Then, you can test your connection using the kubectl command listed next.
aws eks update-kubeconfig --name devel
kubectl get svc
Step 9: Launch worker nodes into your EKS cluster. [AWS docs] There are a lot of options here, so I’ll just defer to the AWS docs link I posted. This step will help you create EC2 instances, place them in the right subnets, and help them connect to the EKS cluster. As such, it’s important to follow the directions exactly.
Step 10: Download, edit, and apply the AWS authenticator configuration map. This is a continuation of the previous step (even in the AWS docs), but worthy of note, since your nodes will not show up in the EKS cluster otherwise. To watch your nodes show up, run this kubectl command:
kubectl get nodes --watch
Step 11: Use kubectl like you would with any other kubernetes cluster. [kubernetes docs, AWS docs for guestbook app] At this point, you have a fully functioning EKS cluster. Congratulations! If not, check the troubleshooting section below to see if you ran into the problems I ran into.
Troubleshooting EKS
My worker nodes aren’t showing up.
I had two different issues here: private subnets and AWS configuration map.
If you're following my guide or the AWS guide, it will create public subnets for you. If you winged it, you may have created private subnets (probably intentionally). For whatever reason, I wasn't able to get private subnets to work, but your problem is likely with route tables, security groups, or a NAT gateway. Private subnets can work, it just didn't work immediately for me.
AWS configuration map is one of the last steps. Make sure to run the commands from the AWS documentation that reference aws-auth-cm.yaml. If you ran these commands, make sure the NodeInstanceRole is not the IAM role you created in my tutorial. You get the NodeInstanceRole from CloudFormation when you set up the worker nodes.
The server doesn't have resource type “svc” or You must be logged in to the server (Unauthorized)
Both of these errors are a symptom of an authentication problem. Check each of these solutions, each of which I had a problem with.
First, make sure aws-iam-authenticator is executable and on your PATH (in /usr/bin). You can test by running the command:
aws-iam-authenticator
Second, make sure you’re using the same credentials on the command line as you used to create the cluster. Don’t use the root account to create the cluster, and then login using your own access ID and secret key — it won’t work.
Finally, make sure you’re not using profiles in your AWS credentials. This was, by far, the hardest problem to track down. If your ~/.aws/credentials file looks like this, you’ve got a problem:
[dev]
aws_access_key_id = AK123….
aws_secret_access_key = abc123…..
[default]
aws_access_key_id = AK456…..
aws_secret_access_key = def456…..
The default profile is what aws-iam-authenticator will use by default. You can get around this by exporting environment variables before using kubectl.
export AWS_ACCESS_KEY_ID=AK123….
export AWS_SECRET_ACCESS_KEY=def456…..
kubectl get svc
You can also specify environment variables in your kubeconfig file. See the aws-iam-authenticator docs for help setting it up.
EKS review: This is not the service you are looking for
When I decided to try EKS, I wanted a couple things, both of which I think are completely reasonable:
-
Complete setup in 5–10 minutes, start to finish
-
Fully automated cluster management
EKS failed me on both fronts. Because of authentication issues and my desire to have a secure network, it took me 3 tries and 4 hours to setup my first working cluster. And, I have to manage everything but the masters. EKS is nothing more than hosted k8s masters. I expected more.
Now that I know what to expect, I found more negatives than positives.
The cons of Amazon EKS:
-
One must use CloudFormation to use EKS. I’ve never loved CloudFormation. My biggest beef with it is its destructive nature to modify properties. That may be fixed now, but back when I first tried it, it would terminate an EC2 instance just to change its security group.
-
Every DevOps person must install the aws-iam-authenticator. Even once your machine is setup, it’s not easy to manage the cluster. Every new user must also go through a subset of the steps to become an administrator.
-
The aws-iam-authenticator doesn’t work with profiles. This was frustrating to track down, and lame that it’s not supported. Update: aws-iam-authenticator definitely works with profiles, but will use the default profile if none are specified in your kubeconfig file.
The benefits of Amazon EKS:
-
EKS makes master management a breeze. Even if I do have to manage worker nodes and capacity, it’s nice that I don’t have to manage etcd or the master nodes.
-
Authentication works with IAM. I hate using a separate tool for it, but I do love that authentication uses a central system that I’ve already got implemented.
All in all, EKS seems geared toward AWS experts who got sick of learning new tools. It’s too complicated to setup to be valuable for newer users, and too fragile to be valuable to a legitimate DevOps person.
If you’re new to EKS or kubernetes, you should try out Blue Matador. Our software automatically finds the problems in your kubernetes config and runtime that you want to know about.