![]() Amazon Elastic Load Balancing ( ELB ) allows you to create load balancers for your application without having to actually manage the servers that do the load balancing. However, since it’s a managed service, you have less visibility with traditional monitoring tools. As such, it becomes even more important to take advantage of the available monitoring tools in AWS. In this post, we’ll explain how to use CloudWatch to monitor Elastic Load Balancing and what is important to watch.
Amazon Elastic Load Balancing ( ELB ) allows you to create load balancers for your application without having to actually manage the servers that do the load balancing. However, since it’s a managed service, you have less visibility with traditional monitoring tools. As such, it becomes even more important to take advantage of the available monitoring tools in AWS. In this post, we’ll explain how to use CloudWatch to monitor Elastic Load Balancing and what is important to watch.
How to Use CloudWatch Metrics with Elastic Load Balancing
Elastic Load Balancing publishes a host of metrics to CloudWatch and looking for abnormalities and limits in these metrics is a great way to spot issues in your ELBs. However, some metrics are better indicators of ELB health than others. In this section, we’ll discuss the metrics to monitor. We’ll also indicate which metrics apply to Classic Load Balancers, Application Load Balancers, and Network Load Balancers.
UnHealthyHostCount (Classic, Application, and Network)
One of the most obvious metrics to monitor is the number of hosts in a load balancer that are failing their health checks. If an instance is failing health checks it is unable to serve traffic.
To monitor UnHealthyHostCount, you should create a CloudWatch alarm on the Average aggregation. However, the threshold depends on the number of hosts in your load balancer. If you have 5 or less, you should probably be alerted whenever UnHealthyHostCount is nonzero. Otherwise, you will have to determine what is reasonable for your application, but a good rule of thumb is no more than 20% of your hosts should be unhealthy. Unfortunately, this is further complicated if you have set up autoscaling, as CloudWatch has no notion of time based alarms. You will just have to use the scaled down threshold.
If you’re using application load balancers, keep in mind that CloudWatch reports the metric for each load balancer/target group combination, so you’ll have to create a CloudWatch alarm for each target group.
RequestCount (Classic and Application)
RequestCount measures the number of requests made to the ELB. A surge or drop the number of requests could signal an issue in clients that are calling your load balancer. It could also mean your ELB is returning many errors and clients are retrying.
To monitor RequestCount, you’ll be looking for anomalies. Because CloudWatch doesn’t support anomaly detection, you’ll have to use averages to find issues. To do so, you’ll want to look at a week of data for the metric and then determine the average high. Create a 10% window above and below the average and you have a good threshold for what looks healthy for your application. Next, create a CloudWatch alarm on the Sum aggregation for the metric whenever RequestCount exceeds the determined threshold for more than 5 datapoints.
HTTPCode_Backend_5XX (Classic) & HTTPCode_Target_5XX_Count (Application)
Both Classic Load Balancers and Application Load Balancers have a metric for 5xx errors returned by the hosts behind the load balancers. If you see a sudden spike in this metric, it is a clear indication that something is wrong in your application.
However, because some number of 5xx errors are expected in any distributed system, you’ll need to use the same anomaly detection method described in RequestCount to detect issues in your system. Again, you’ll use the Sum aggregation to create the CloudWatch alarm.
HTTPCode_Backend_4XX (Classic) & HTTPCode_Target_4XX_Count (Application)
Both Classic Load Balancers and Application Load Balancers have a metric for 4xx errors returned by the hosts behind the load balancers. If you see a sudden spike in this metric, you likely have an issue in clients making requests to your load balancer.
However, because some number of 4xx errors are expected in any distributed system, you’ll need to use the same anomaly detection method described in RequestCount to detect issues in your system. Again, you’ll use the Sum aggregation to create the CloudWatch alarm.
Latency (Classic) & TargetResponseTime (Application)
CloudWatch measures the amount of time it takes for your hosts to return a response through the load balancer with the Latency and TargetResponseTime metrics. If response time increases drastically, it almost certainly means there are issues in your application. These types of errors are especially important to detect because they cascade through services as your clients spend longer waiting on resources they request from the load balancer.
Once again, anomaly detection is the best way to monitor this metric. Use the method described in RequestCount to detect spikes in latency. This time, use the Average aggregation for CloudWatch alarm creation.
BackendConnectionErrors (Classic) & TargetConnectionErrorCount (Application)
The BackendConnectionErrors metric is incremented whenever your ELB is unable to connect to the hosts backing the load balancer. If this is happening consistently, your hosts are likely overloaded and unable to accept connections, or traffic may be routed to a port that is not open.
While random connection errors can occur, if this value is consistently nonzero, you should know about it. Create a CloudWatch alarm on the Sum aggregation when this metric is nonzero for 5 consecutive data points.
SurgeQueueLength (Classic)
The surge queue length is the number of pending requests to a healthy instance in a classic load balancer. When the number of requests exceeds the maximum of 1,024, they will be rejected. As such, it’s a good idea to keep an eye on your surge queue length and ensure that you have enough instances backing your load balancer to handle your load.
To monitor SurgeQueueLength, create a CloudWatch alarm on the Maximum aggregation to alert you when SurgeQueueLength exceeds 768 (75% of the max) for 5 consecutive data points. If your application is very performance constrained, you’ll probably want to have a stricter alarm, either by lowering the threshold or by checking for nonzero values over a longer timespan like 15 minutes.
ProcessedBytes (Application and Network)
ProcessedBytes measures the number of bytes processed by the ELB. An anomalous amount can signal issues in your application, but is best used in correlation with other metrics. As such, you probably shouldn’t send alarms for this metric to your oncall team. However, it can be useful to still create a CloudWatch alarm for the Sum aggregation using the method described in RequestCount and have the notifications sent to an informational notification method.
How to View CloudWatch Metrics for Elastic Load Balancing
CloudWatch metrics for Elastic Load Balancing can be viewed normally through the Metrics portion of CloudWatch, but it is also possible to use the Monitoring tab in the Load Balancer section of the EC2 console. This tab shows several metric graphs for each ELB.

How to Create CloudWatch Alarms for Elastic Load Balancing
Now that we’ve determined which metrics to monitor, let’s talk about how to create CloudWatch alarms on those metrics. CloudWatch alarms are created from the CloudWatch console.
-
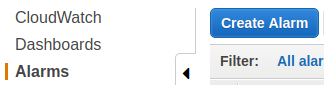
Click on Create Alarm.
-
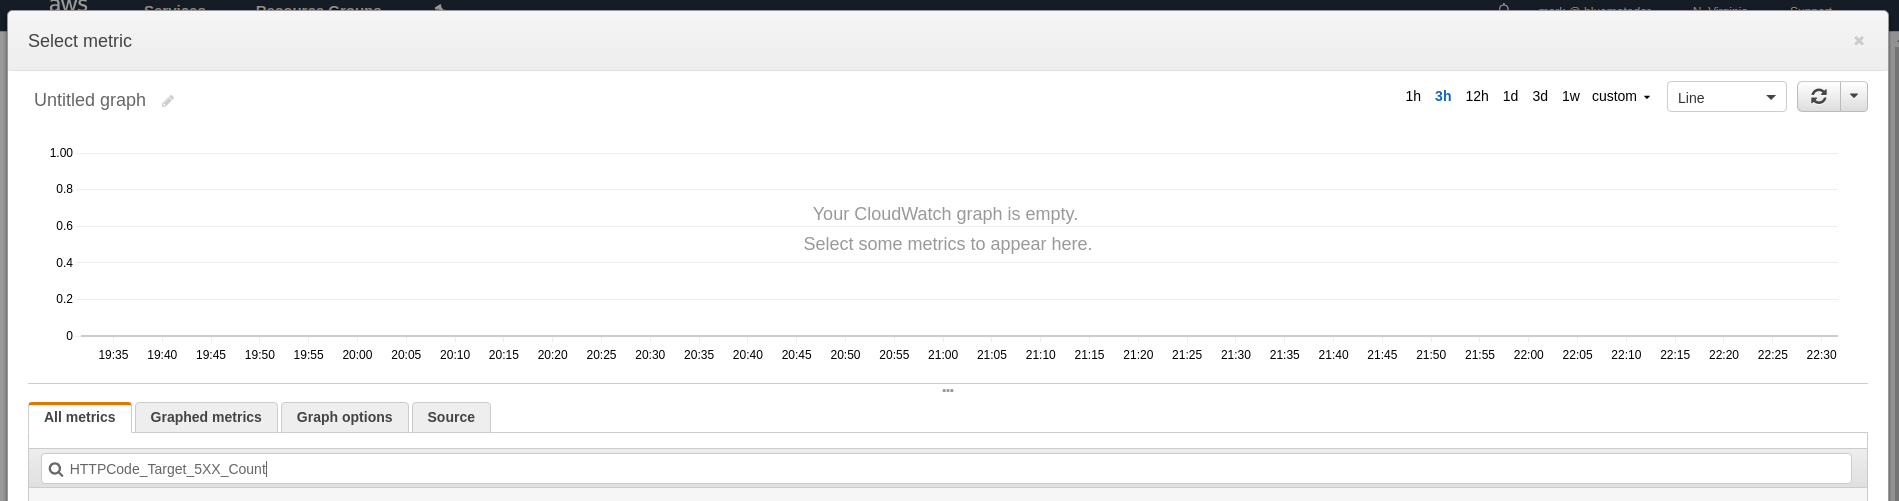
Click on Select Metric and type the name of the metric into the search box.
-
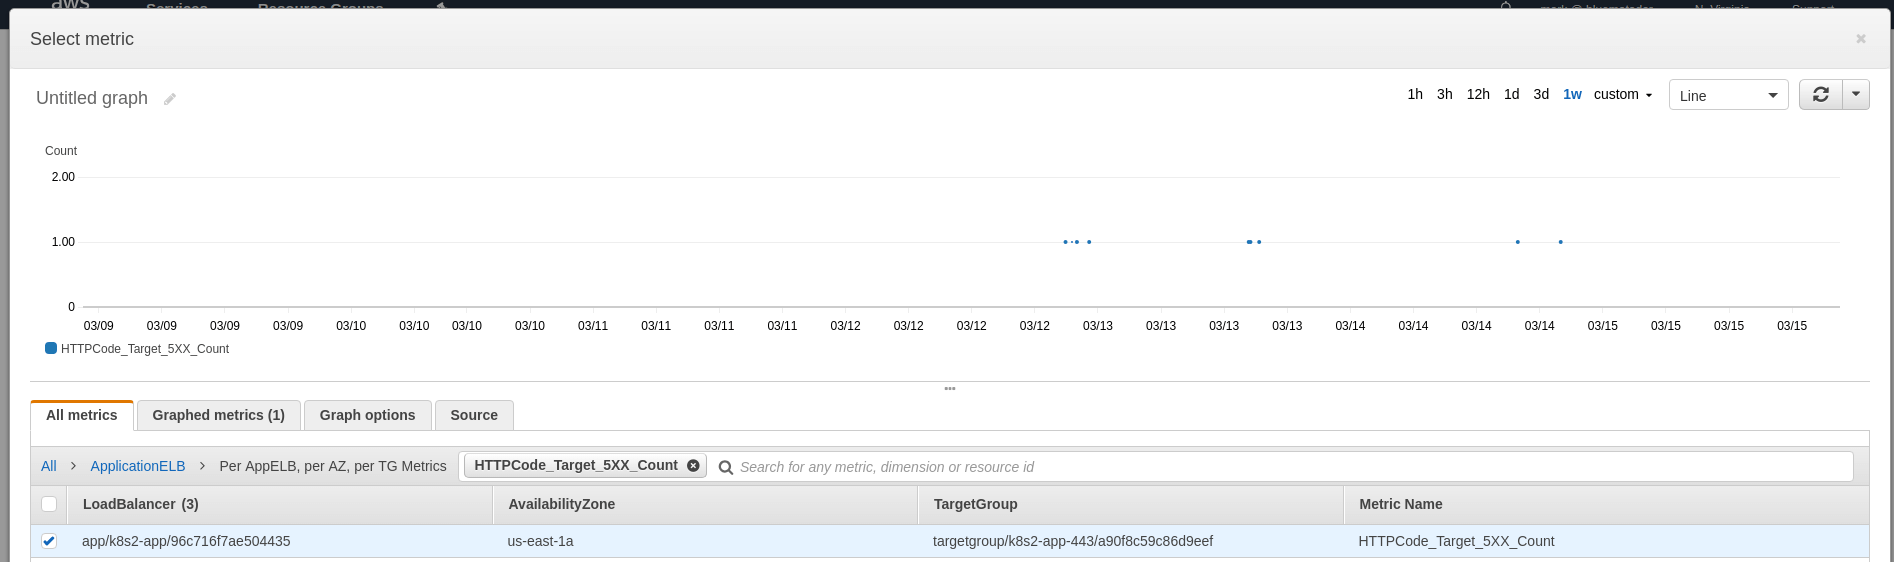
Choose the metric for the ELB you’re going to monitor and look at a 1 week graph to determine what your baselines are. Click Select Metric.
-
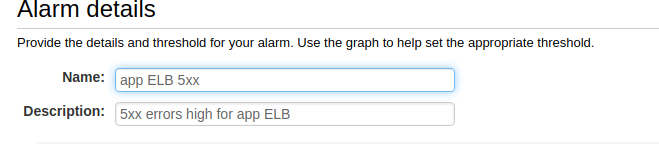
Name and describe your alarm.
-
Configure your thresholds. You can use the thresholds described earlier in this article for each metric.

-
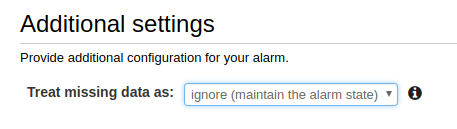
Choose what to do when data is missing (we recommend ignoring missing data and just keeping the previous state to keep alerts from flapping).
-
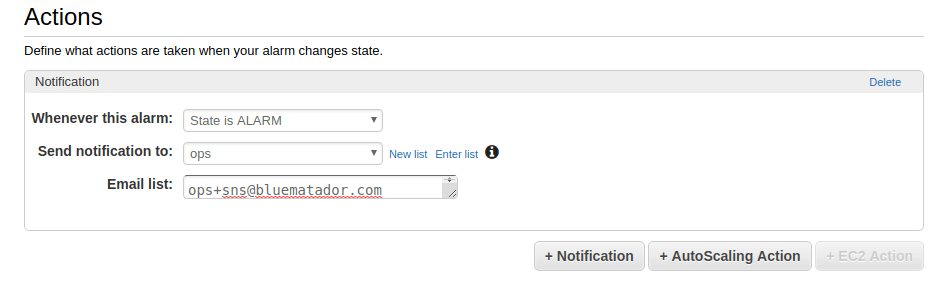
Set up notifications for the alarm.
-
Click Create Alarm.
Unfortunately, since your ELBs likely have different baselines, you’ll have to repeat the whole process for each ELB and metric combination. This can get incredibly time consuming and tedious.
Next Steps
Now you know how to monitor Amazon Elastic Load Balancing using CloudWatch. However, it can be error prone and tedious to set up CloudWatch monitoring for all your ELBs (and remembering to do it for ELBs you create in the future is tough!). Even after you get your alarms set up, your ELBs will continue to change, so expect to spend time tweaking thresholds.Instead, take the manual work out of monitoring your ELBs and use Blue Matador’s automatic setup to effortlessly watch for anomalies and errors within Amazon Elastic Load Balancing without any configuration. This is especially important in a system like Elastic Load Balancing, where monitoring depends heavily on anomaly detection. Blue Matador also warns you when you’re nearing your ELB limit or you have an ELB without any registered instances or targets. Get started on automatic alerting with Blue Matador now!